Hexo美化卡片
对博客页面的卡片样式进行美化
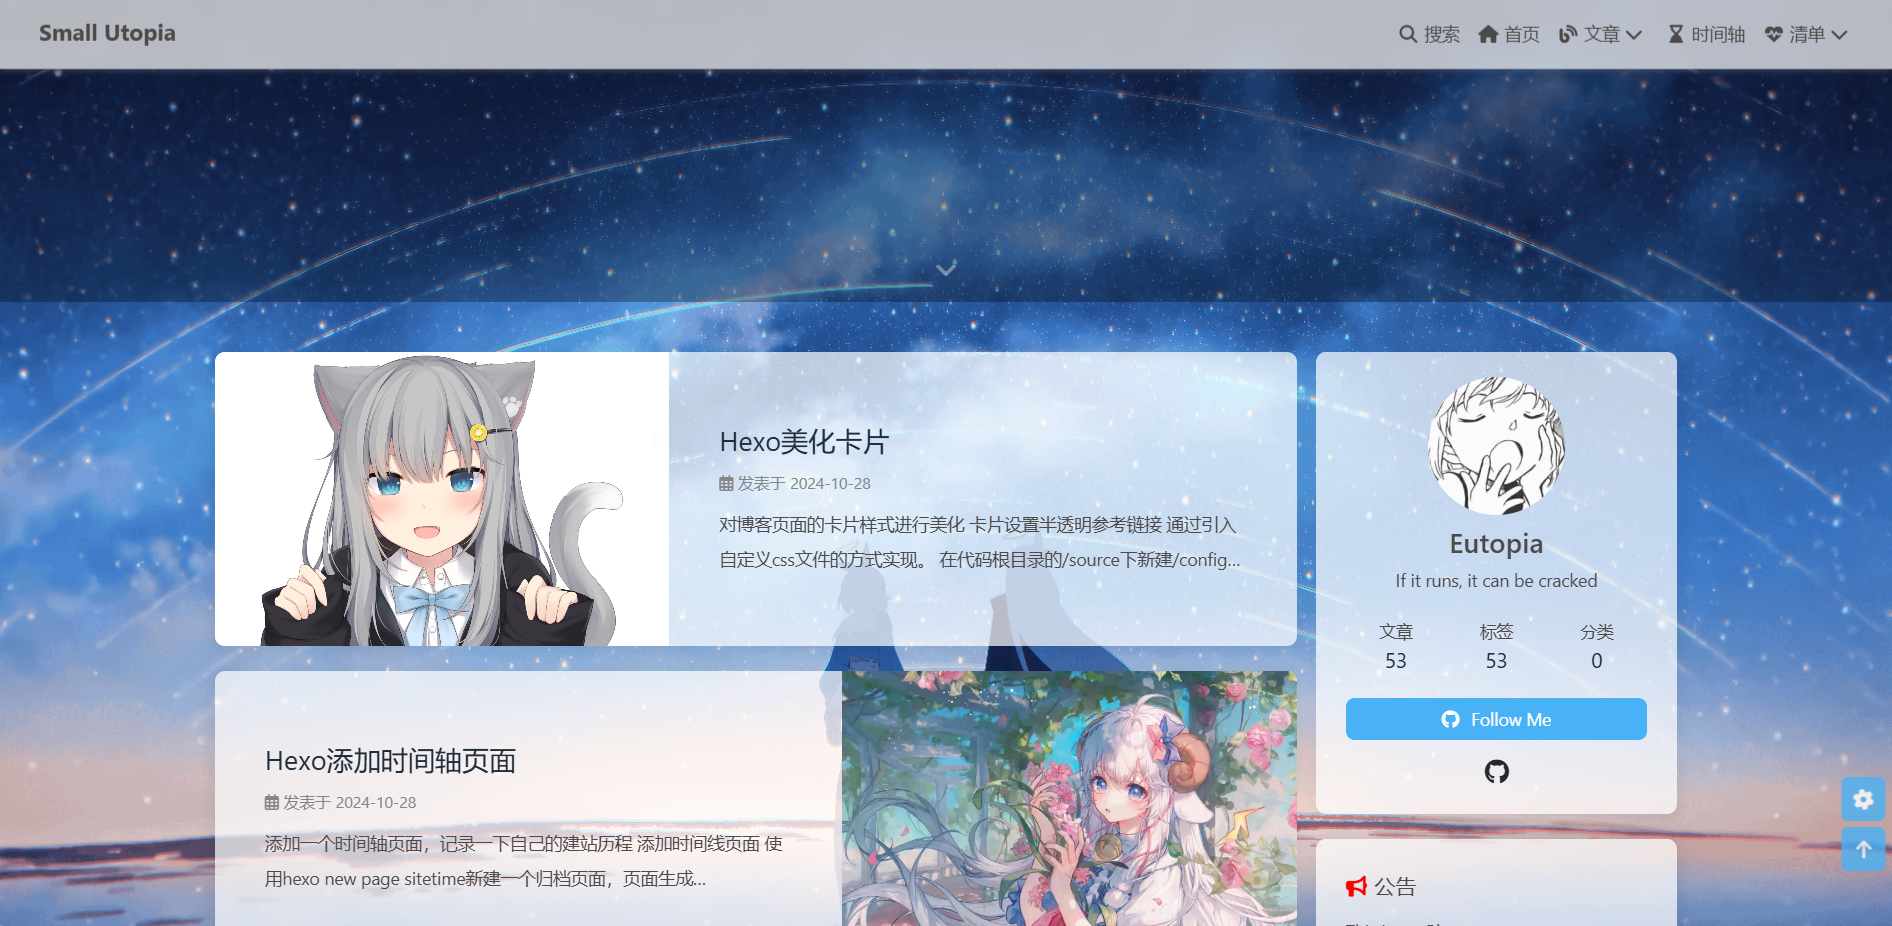
卡片设置半透明
通过引入自定义css文件的方式实现。
在代码根目录的/source下新建/config目录,/config目录下分别新建css、js、img目录用于存储自定义的文件。
在/source/config/css目录下新建transparancy.css文件,内容如下:
1
2
3
4
5
6
7
8
9
10
11
12
13
14
15
16
17
18
19
20
21
22
23
24
/* 文章页背景 */
.layout_post>#post {
    /* 以下代表透明度为0.7 可以自行修改*/
    background: rgba(255,255,255,.7);
}

/* 所有页面背景 */
#aside_content .card-widget, #recent-posts>.recent-post-item, .layout_page>div:first-child:not(.recent-posts), .layout_post>#page, .layout_post>#post, .read-mode .layout_post>#post{
    /* 以下代表透明度为0.7 */
    background: rgba(255,255,255,.7);
}
/*侧边卡片的透明度 */
:root {
  --card-bg: rgba(255, 255, 255, .7);
}
/* 页脚透明 */
/* #footer {	*/
	/* 以下代表透明度为0.7 */
/*	background: rgba(255,255,255, .0);
/* 暗色模式调整 */
[data-theme='dark']:root {
    --card-bg: rgba(18, 18, 18, 0.9);
}
页脚透明注释掉了,有需要的可以自行取消注释~~~
引入css文件:在主题配置文件
_config.butterfly.yml中引入css文件,使用inject实现。1
2
3
4
5
6
7
8
9
10
11
12# Inject
# ps:引入自定义css、js
# css文件在head引入,js文件在bottom里引入,有的js要求在head引入,不然无法生效
# Insert the code to head (before '</head>' tag) and the bottom (before '</body>' tag)
# ps: 插入代码到头部 </head> 之前 和 底部 </body> 之前
inject:
head: #注入自定义css
- <link rel="stylesheet" href="/config/css/transparancy.css">
# - <link rel="stylesheet" href="/xxx.css">
bottom: #注入自定义js
# - <script src="/config/js/script.js?v1"></script>
# - <script src="/xxxx"></script>
实现效果:

个人信息卡设置
隐藏Follow Me按钮
配置文件中修改_config.butterfly.yml:
1 | aside: |
社交媒体图标
配置文件中修改_config.butterfly.yml:
1 | social: |
修改图标悬停动画
头像和社交媒体图标的旋转动画很抽象,这里修改为放大动画:
使用上述自定义css文件方法:
1 | #aside-content .card-info .card-info-social-icons .social-icon :hover{ |
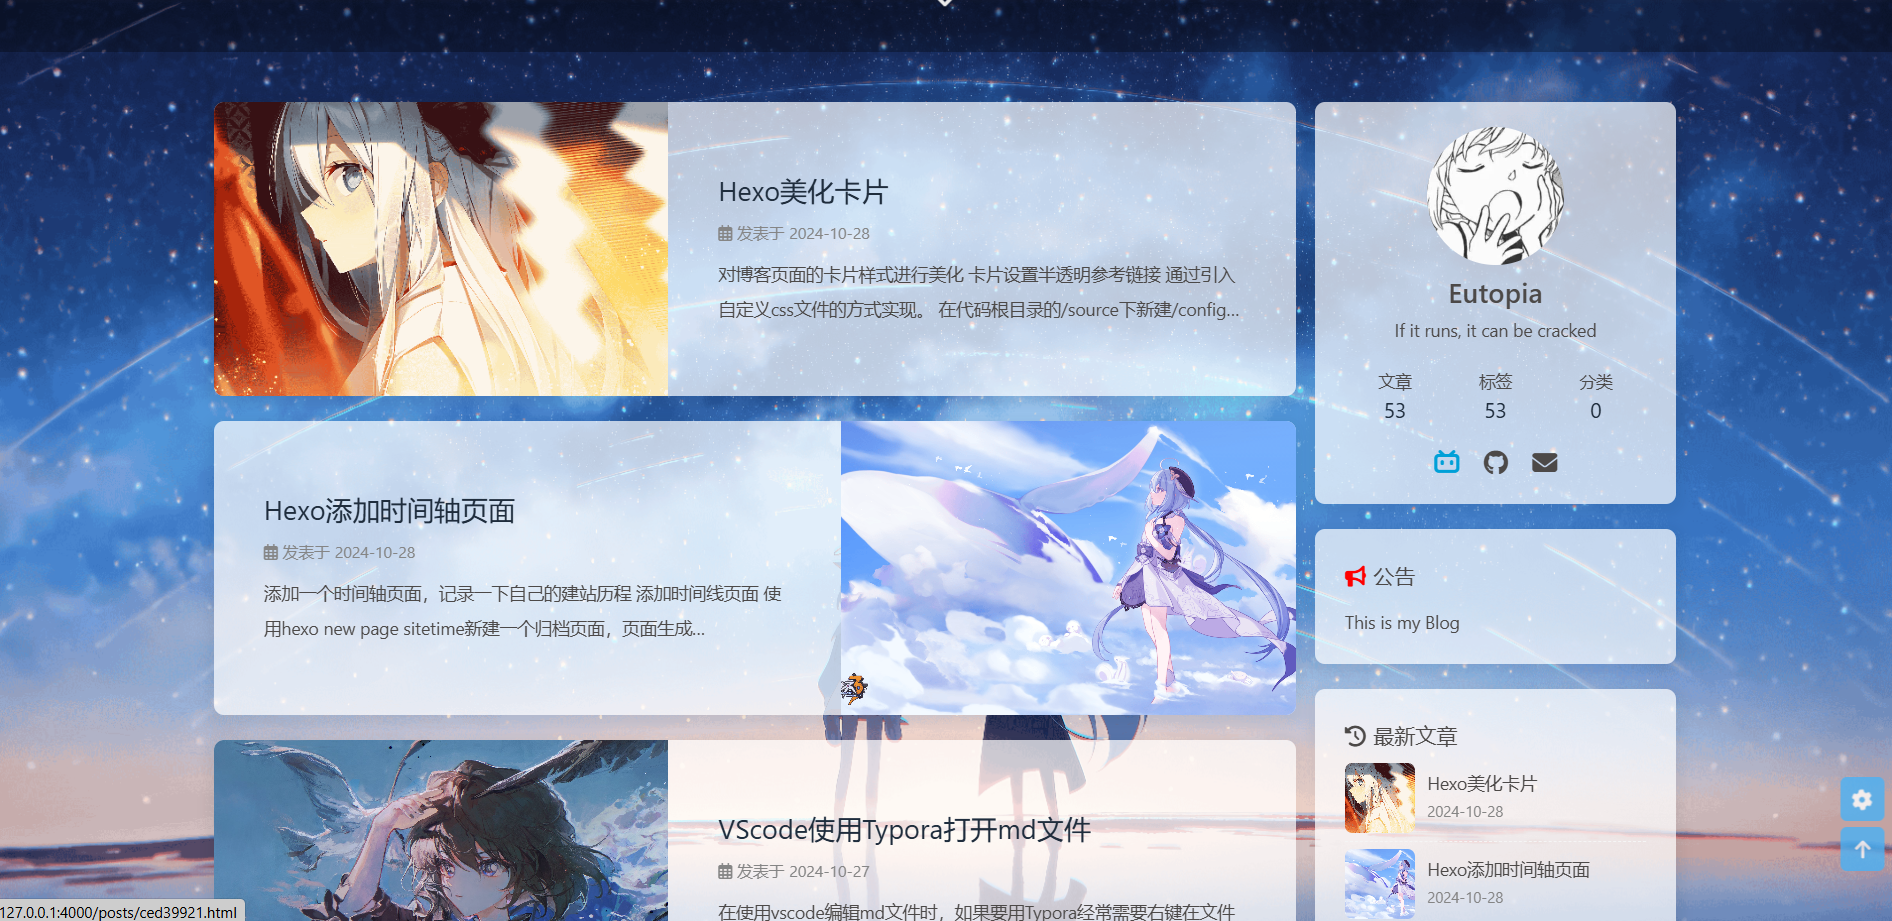
最终效果:

本博客所有文章除特别声明外,均采用 CC BY-NC-SA 4.0 许可协议。转载请注明来源 Small Utopia!
评论
.jpg)
.jpg)
.jpg)
.jpg)
.jpg)